Introduction
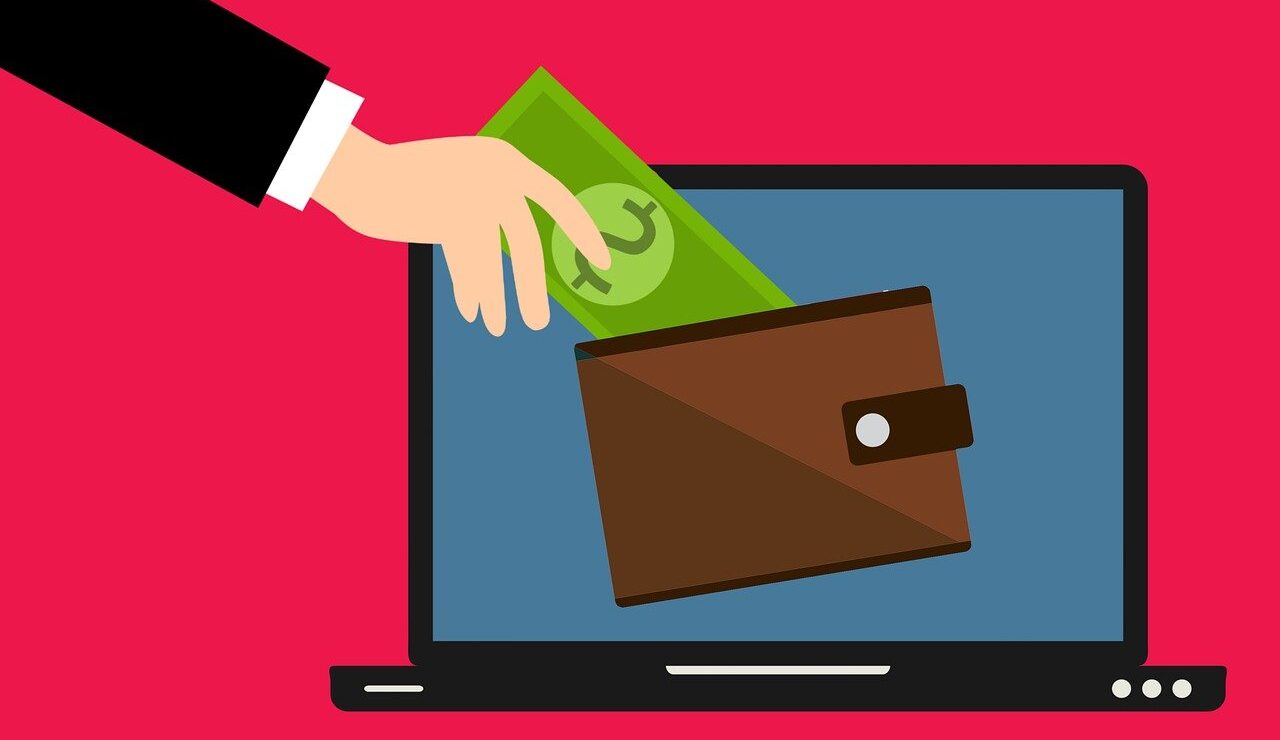
In an increasingly digital world, the need for secure and convenient methods of managing your financial assets has never been greater. Enter the digital wallet, a versatile tool that allows you to store, manage, and transact with cryptocurrencies, as well as traditional fiat currencies.
In this blog post, we’ll walk you through the steps to create your own digital wallet, whether you’re new to the world of cryptocurrencies or looking to expand your digital financial toolkit.
Step 1: Choose Your Digital Wallet Type
There are various types of digital wallets available, each with its own set of features and purposes. The main categories include:
- Software Wallets: These wallets are applications or software programs that you can download and install on your computer or mobile device. They are often user-friendly and suitable for beginners. Examples include Exodus, Electrum, and Trust Wallet.
- Hardware Wallets: Hardware wallets are physical devices designed to securely store your cryptocurrencies offline. They are considered one of the most secure options. Popular choices include Ledger Nano S, Ledger Nano X, and Trezor.
- Web Wallets: Web wallets are online platforms that you can access through a web browser. They are convenient but may have security risks. Coinbase and Binance are examples of web wallets.
- Mobile Wallets: Mobile wallets are apps specifically designed for smartphones. They offer convenience and are suitable for everyday transactions. Jaxx and Atomic Wallet are popular mobile wallet options
- Paper Wallets: A paper wallet is a physical document that contains your cryptocurrency’s public and private keys. They are entirely offline and are considered one of the most secure storage methods.
Choose the type of wallet that best suits your needs and level of security.
Step 2: Download and Install Your Wallet
If you’ve chosen a software or mobile wallet, visit the official website or app store for your chosen wallet and download the application. Ensure that you download from reputable sources to avoid downloading malicious software. Follow the installation instructions provided by the wallet provider.
For hardware wallets, purchase the device from an authorized retailer, and follow the setup instructions provided in the packaging.
Step 3: Create Your New Wallet
Once the wallet is installed, open the application and create a new wallet. You will typically be prompted to choose a strong password or PIN to secure your wallet. This password is essential, so make sure it’s both strong and memorable.
Step 4: Backup Your Wallet
Most wallets will generate a backup phrase or seed phrase consisting of 12 to 24 words. This phrase is critical because it allows you to recover your wallet if it’s ever lost or stolen. Write down the seed phrase on a physical piece of paper and store it in a safe place. Do not store it digitally or share it with anyone. Losing this phrase means losing access to your funds.
Step 5: Fund Your Wallet
Now that your wallet is set up and secured, you can start adding funds to it. For cryptocurrency wallets, you can receive funds by sharing your wallet address with others or by purchasing cryptocurrencies through exchanges and transferring them to your wallet.
For fiat currency wallets, you may need to link your bank account or provide payment information to deposit funds. Wallets like PayPal and Apple Pay are examples of fiat digital wallets.
Step 6: Manage and Use Your Wallet
Once your wallet is funded, you can use it for various purposes:
– Sending and Receiving Transactions: Use your wallet to send cryptocurrencies to others by entering their wallet address and specifying the amount. Conversely, you can receive funds by sharing your wallet address with others.
– Checking Balances: Most wallets allow you to check your balance and transaction history within the application.
– Converting Cryptocurrencies: Some wallets offer the option to exchange one cryptocurrency for another directly within the wallet.
– Security and Updates: Regularly update your wallet to ensure you have the latest security features. Be cautious of phishing scams and never share your private keys or seed phrase with anyone.
Step 7: Backup and Security
Maintaining the security of your digital wallet is paramount. Here are some tips:
– Regularly back up your wallet, especially if you make significant transactions or changes to your wallet settings.
– Enable two-factor authentication (2FA) if your wallet supports it, adding an extra layer of security.
– Keep your wallet software up to date to protect against vulnerabilities.
– Beware of phishing attempts and only use trusted sources for wallet downloads or updates.
Conclusion
Creating your digital wallet is a straightforward process that opens the door to managing your cryptocurrencies and digital assets securely and conveniently. Remember to choose the right type of wallet for your needs, keep your wallet and seed phrase secure, and stay vigilant against security threats.
By following these steps and best practices, you can confidently navigate the world of digital wallets and take control of your financial future in the digital age.